Image Source: Google
Brick pointing is a crucial aspect of maintaining the beauty and integrity of your brickwork. Whether you are looking to enhance the appearance of your home or prevent water damage, mastering the art of brick pointing can save you money and time in the long run. In this comprehensive guide, we will walk you through the step-by-step process of brick pointing for all the DIY enthusiasts out there.
Why Brick Pointing is Important
Before we dive into the steps of brick pointing, it's essential to understand why this process is crucial for the longevity of your brickwork. Here are some key reasons why brick pointing is important:
Prevents Water Damage
- Proper brick pointing helps to prevent water from seeping into the mortar joints and causing structural damage to your brickwork.
- It helps maintain the structural integrity of your building by keeping moisture out.
Enhances Curb Appeal
- Brick pointing can significantly improve the appearance of your home by giving it a fresh and well-maintained look.
- It can help increase the value of your property by enhancing its curb appeal.
Step-by-Step Guide to Brick Pointing
Materials Needed
- Masonry trowel
- Pointing tool
- Brush
- Bucket
- Mortar mix
- Water
Step 1: Prepare the Surface
Before you begin brick pointing, make sure to clean the surface thoroughly to remove any dirt, debris, or loose mortar. Use a brush to clean out the joints and ensure they are free of any obstructions.
Step 2: Mix the Mortar
Prepare the mortar mix according to the manufacturer's instructions. It's important to achieve the right consistency to ensure proper adhesion. Start with a small batch to practice before moving on to larger areas.
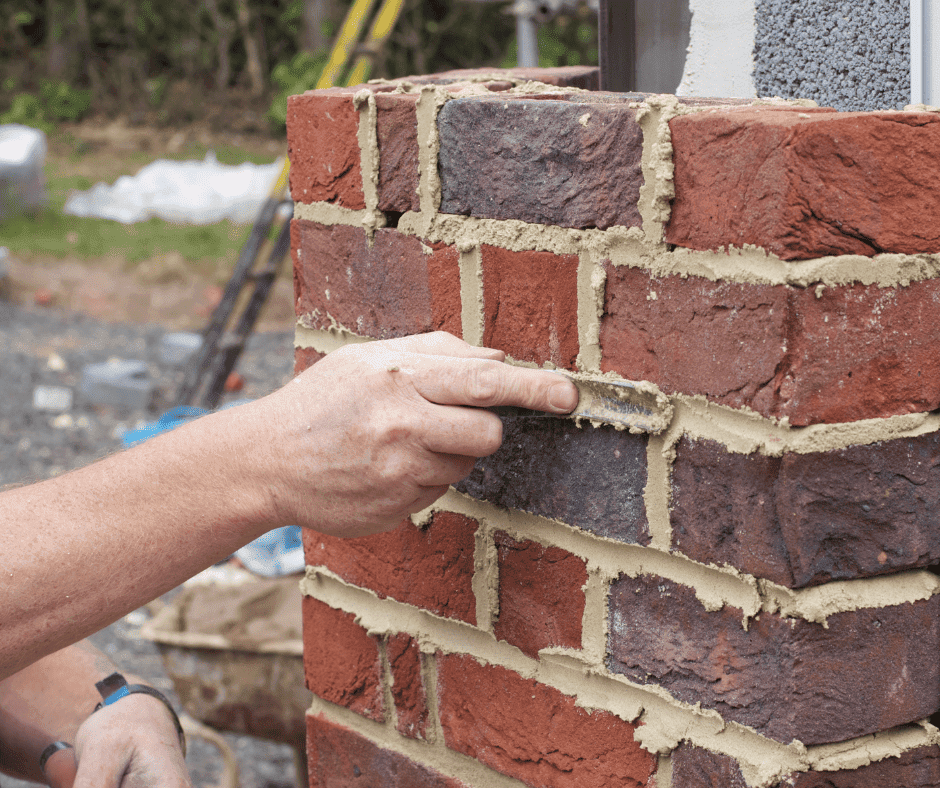
Step 3: Apply the Mortar
Using a masonry trowel, apply the mortar to the joints, making sure to fill them completely. Work in small sections to prevent the mortar from drying out before you can finish pointing.
Step 4: Shape the Mortar
Once the mortar is in place, use a pointing tool to shape and smooth it into the desired finish. Make sure the mortar is flush with the brick surface for a clean and professional look.
Step 5: Clean Up
After you have finished pointing the bricks, clean off any excess mortar with a brush or damp cloth. Be careful not to disturb the freshly pointed joints, as the mortar needs time to cure properly.
Tips for Successful Brick Pointing
Work in Small Sections
- Working in small sections allows you to focus on each area carefully without rushing the process.
- It helps ensure that the mortar doesn't dry out before you have a chance to shape and finish it.
Practice on a Scrap Brick
- Before tackling your entire brickwork, practice on a scrap brick to get a feel for the process and perfect your technique.
- This will help you identify any issues early on and make adjustments before working on your actual project.
Pick the Right Mortar Mix
- Choosing the right mortar mix is crucial for the success of your brick pointing project.
- Make sure to select a mortar mix that matches the existing mortar in color and composition for a seamless finish.
Conclusion
Brick pointing is a valuable skill that can help you maintain the beauty and integrity of your brickwork. By following this step-by-step guide and incorporating the tips provided, DIY enthusiasts can successfully point their bricks and enhance the overall appearance of their homes. Remember to take your time, practice, and pay attention to detail for the best results. Happy brick pointing!